


As a supplier of Volvo reversing camera decoding modules, I often receive inquiries from customers about whether they can install these modules on their own. In this blog post, I'll delve into this topic, providing you with a comprehensive understanding of the installation process, its complexity, and what you need to consider before attempting a DIY installation.
Understanding Volvo Reversing Camera Decoding Modules
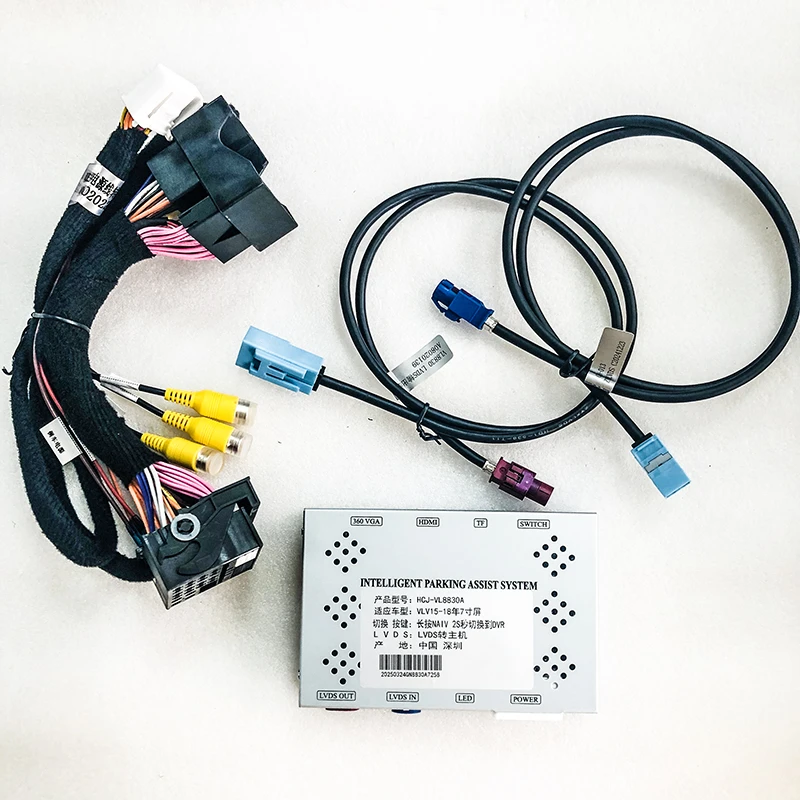
Before discussing the installation, it's essential to understand what a Volvo reversing camera decoding module does. These modules are designed to interface between the reversing camera and the vehicle's existing infotainment or display system. They decode the camera's signal so that it can be properly displayed on the Volvo's screen, ensuring a clear and accurate view of the area behind the vehicle when reversing.
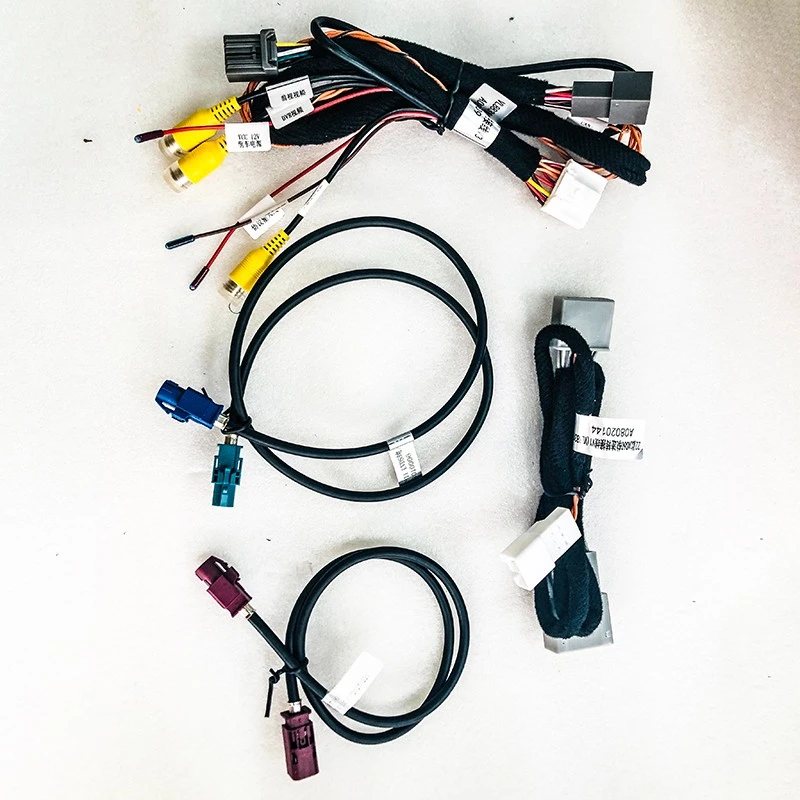
We offer two popular models: the Volvo Full - Range 7 - Inch Reverse Camera Decoder Module (2015 - 2017 Model Compatibility) and the Volvo Vertical Screen Full - Range Reverse Camera Decoder Module (2017 - 2022 Model Compatibility). Each is tailored to specific Volvo models and screen configurations, ensuring optimal performance.
The Complexity of Installation
Electrical Knowledge Required
Installing a Volvo reversing camera decoding module involves working with the vehicle's electrical system. You need to have a basic understanding of electrical circuits, wire colors, and how to make proper connections without causing short - circuits or damaging the vehicle's electronics. For example, you'll need to identify the power source for the module, which may require tapping into the vehicle's existing wiring harness. Incorrectly connecting the power wires can lead to blown fuses, damage to the module, or even pose a fire hazard.
Compatibility and Configuration
Volvo vehicles come in various models and years, each with its own unique electrical and infotainment system. Ensuring that the decoding module you choose is compatible with your specific Volvo model is crucial. Even if the module is advertised as compatible, there may still be some configuration steps required. This could involve setting the correct resolution, adjusting the color settings, or calibrating the camera's view on the display. Without the right knowledge and tools, it can be challenging to get these settings just right.
Physical Installation
The physical installation of the module also has its challenges. You'll need to find a suitable location to mount the module inside the vehicle, which should be secure and away from any moving parts or areas prone to water damage. Additionally, running the camera cable from the rear of the vehicle to the front where the module is installed can be a tricky task. You may need to remove interior panels to access the wiring channels, and improper panel removal can lead to scratches or broken clips.
Tools and Materials Needed
If you decide to install the Volvo reversing camera decoding module yourself, you'll need the following tools and materials:
- Screwdrivers: Both Phillips and flat - head screwdrivers will be necessary for removing interior panels and mounting the module.
- Wire strippers and crimpers: These are used to strip the insulation from wires and make proper electrical connections.
- Electrical tape: To insulate the wire connections and prevent short - circuits.
- Multimeter: This tool is essential for testing the electrical connections and ensuring that the power supply is correct.
- Fish tape or cable puller: Useful for running the camera cable through the vehicle's wiring channels.
Step - by - Step Installation Guide
Step 1: Preparation
- Gather all the necessary tools and materials.
- Read the installation manual that comes with the decoding module carefully. Make sure you understand all the steps and warnings.
- Disconnect the vehicle's battery to prevent any electrical shocks or damage during the installation process.
Step 2: Mount the Decoding Module
- Find a suitable location inside the vehicle to mount the module. This could be under the dashboard, in the center console, or near the infotainment system.
- Use the appropriate screws or mounting brackets to secure the module in place.
Step 3: Connect the Power
- Identify the power source for the module. This is usually a wire that is hot when the vehicle is in reverse.
- Use the wire strippers to expose a small section of the power wire, and then use the crimpers to connect the module's power wire to it. Make sure the connection is secure and insulated with electrical tape.
Step 4: Connect the Camera Cable
- Run the camera cable from the rear of the vehicle to the front where the module is installed. Use the fish tape or cable puller to guide the cable through the wiring channels.
- Connect the camera cable to the decoding module at the front and to the camera at the rear.
Step 5: Connect to the Display
- Locate the appropriate connection point on the vehicle's infotainment system for the decoding module.
- Connect the module to the display using the provided cable.
Step 6: Configuration
- Reconnect the vehicle's battery and turn on the ignition.
- Follow the instructions in the installation manual to configure the module. This may involve adjusting the camera settings, such as the resolution and color, and calibrating the view on the display.
When to Seek Professional Help
If you're not confident in your electrical knowledge, don't have the necessary tools, or are unsure about any step of the installation process, it's best to seek professional help. A professional installer has the experience and expertise to handle the installation quickly and correctly. They also have access to specialized diagnostic tools that can help with any configuration issues.
Benefits of Professional Installation
- Warranty Protection: Many professional installers offer a warranty on their installation work. This means that if something goes wrong with the installation, they will fix it at no additional cost.
- Time - Saving: Professional installers can complete the installation much faster than an inexperienced DIYer. This means you can get back on the road with your new reversing camera system sooner.
- Peace of Mind: Knowing that a trained professional has installed your Volvo reversing camera decoding module gives you peace of mind. You can be confident that the installation is done correctly and that your vehicle's electrical system is not at risk.
Conclusion
While it is possible to install a Volvo reversing camera decoding module by yourself, it is a complex task that requires a certain level of electrical knowledge and the right tools. If you're up for the challenge and have the necessary skills, a DIY installation can be a rewarding experience. However, if you're unsure or lack the confidence, it's recommended that you seek professional help.
As a supplier of Volvo reversing camera decoding modules, we are committed to providing high - quality products and excellent customer service. If you have any questions about our products, installation, or compatibility, please don't hesitate to contact us for further information and to discuss your purchasing needs.
References
- Automotive Electrical Systems Handbook
- Volvo Vehicle Service Manuals


