


Hey there! As a supplier of dynamic trajectory reverse cameras, I often get asked about how to calibrate these nifty devices. So, I thought I'd share some insights on the calibration process to help you get the most out of your dynamic trajectory reverse camera.
Why Calibration Matters
Before we dive into the calibration process, let's quickly talk about why it's so important. A properly calibrated dynamic trajectory reverse camera can provide accurate visual guidance when you're backing up your vehicle. The dynamic guidelines on the camera's display adjust based on the steering angle of your vehicle, giving you a clear idea of where your vehicle will go as you reverse. If the camera isn't calibrated correctly, these guidelines won't accurately represent the path of your vehicle, which can lead to potential accidents or misjudgments while parking or reversing.
Tools You'll Need
First things first, let's go over the tools you'll need for the calibration process. You won't need a whole bunch of fancy equipment, but having these items on hand will make the calibration go smoothly:
- A flat and level surface to park your vehicle on. This is crucial because an uneven surface can throw off the calibration.
- A measuring tape or ruler. You'll use this to measure distances and ensure proper alignment.
- A straight edge or a long piece of wood. This will help you check for straight lines and alignment during the calibration.
Step-by-Step Calibration Process
Step 1: Park Your Vehicle
Find a flat and level surface, like an empty parking lot or your driveway. Make sure there are no obstacles around your vehicle and that you have plenty of room to move around it. Park your vehicle straight and turn off the engine.
Step 2: Mount the Camera
If you haven't already, mount the dynamic trajectory reverse camera on your vehicle according to the manufacturer's instructions. Usually, the camera is installed at the rear of the vehicle, centered and at a specific height. Make sure it's securely attached and that the lens is clean and free of any dirt or debris.
Step 3: Connect the Camera
Connect the camera to your vehicle's display system. This may involve running wires through your vehicle and connecting them to the appropriate ports. Follow the wiring diagram provided by the manufacturer to ensure a proper connection. Once the camera is connected, turn on your vehicle's ignition and check if the camera is working. You should see an image of the area behind your vehicle on the display.
Step 4: Adjust the Camera Angle
The next step is to adjust the camera angle. You want the camera to have a clear view of the area behind your vehicle, with the horizon line appearing straight on the display. Use the camera's adjustment screws or brackets to tilt and pan the camera until you achieve the desired angle. You can use a straight edge or a long piece of wood to help you check if the horizon line is straight.
Step 5: Set the Reference Points
Most dynamic trajectory reverse cameras require you to set reference points on the ground behind your vehicle. These reference points are used to calibrate the dynamic guidelines on the camera's display. To set the reference points, follow these steps:
- Measure a specific distance from the rear of your vehicle, usually around 6 to 8 feet. Mark this point on the ground with a piece of tape or a chalk mark.
- Measure the same distance on both sides of your vehicle and mark those points as well. You should now have three reference points in a straight line behind your vehicle.
Step 6: Calibrate the Dynamic Guidelines
Once you've set the reference points, it's time to calibrate the dynamic guidelines on the camera's display. The calibration process may vary depending on the make and model of your camera, but here's a general overview:
- Locate the calibration menu on your vehicle's display system. This is usually found in the settings or options menu.
- Enter the calibration mode and follow the on-screen instructions. You may be asked to select the type of vehicle you have, the wheelbase, and other relevant information.
- Use the steering wheel to turn the wheels of your vehicle to different angles. As you turn the wheels, the dynamic guidelines on the display should adjust accordingly. If they don't, you'll need to make adjustments using the calibration menu.
- Compare the position of the dynamic guidelines on the display with the reference points you set on the ground. Make sure the guidelines accurately represent the path of your vehicle as you turn the wheels. If there are any discrepancies, use the calibration menu to make fine-tuning adjustments until the guidelines match the actual path of your vehicle.
Step 7: Test the Calibration
Once you've completed the calibration process, it's important to test it to make sure everything is working correctly. Back up your vehicle slowly and turn the steering wheel to different angles. Watch the dynamic guidelines on the display and make sure they accurately represent the path of your vehicle. If you notice any issues or discrepancies, go back and repeat the calibration process until you're satisfied with the results.
Our Dynamic Trajectory Reverse Camera Products
At our company, we offer a wide range of dynamic trajectory reverse cameras to suit different vehicle makes and models. Here are some of our popular products:

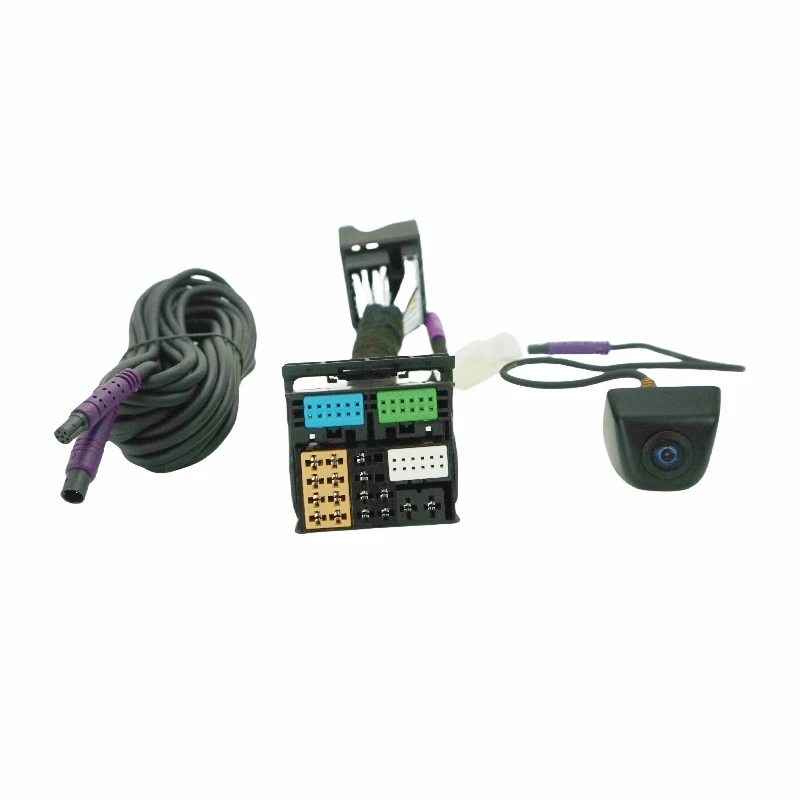
- Volkswagen MIB Dynamic Guidelines Backup Camera (Dedicated Interface): This camera is specifically designed for Volkswagen vehicles with MIB systems. It provides accurate dynamic guidelines and a clear view of the area behind your vehicle.
- Car Parking Reverse Rear Camera for Audi Vw Camera: This camera is compatible with Audi and Volkswagen vehicles. It features high-resolution imaging and adjustable dynamic guidelines for precise parking and reversing.
- Audi Q3/Q5/A5 Exclusive MIB3 Flush-Mount Reverse Camera: This camera is designed specifically for Audi Q3, Q5, and A5 vehicles with MIB3 systems. It has a flush-mount design for a sleek and seamless look, and it provides accurate dynamic guidelines for safe and easy reversing.
Contact Us for Purchase and Further Assistance
If you're interested in purchasing a dynamic trajectory reverse camera or have any questions about the calibration process, feel free to get in touch with us. Our team of experts is here to help you find the right camera for your vehicle and provide you with all the support you need. Whether you're a DIY enthusiast or a professional installer, we're committed to helping you get the most out of your dynamic trajectory reverse camera.
References
- Manufacturer's manuals for dynamic trajectory reverse cameras
- Automotive industry standards for camera calibration
So, there you have it! A step-by-step guide on how to calibrate a dynamic trajectory reverse camera. I hope this information was helpful, and if you have any more questions or need further assistance, don't hesitate to reach out.


