


Connecting an Audi handle camera to a computer can significantly enhance your experience, whether you're using it for security, recording driving adventures, or other purposes. As a trusted supplier of Audi handle cameras, I'm here to guide you through the process step by step.
Understanding Audi Handle Cameras
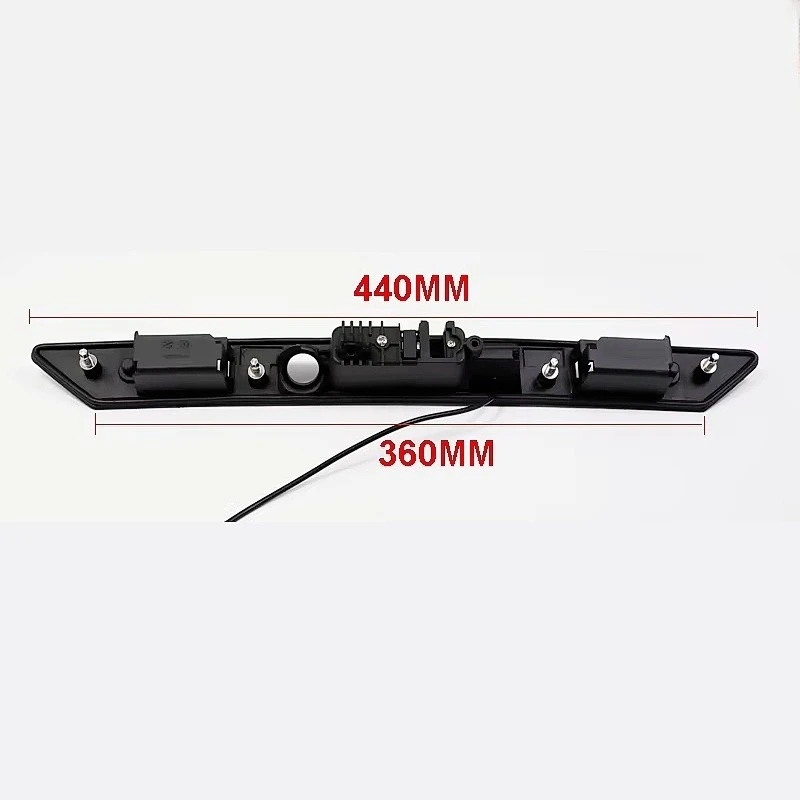
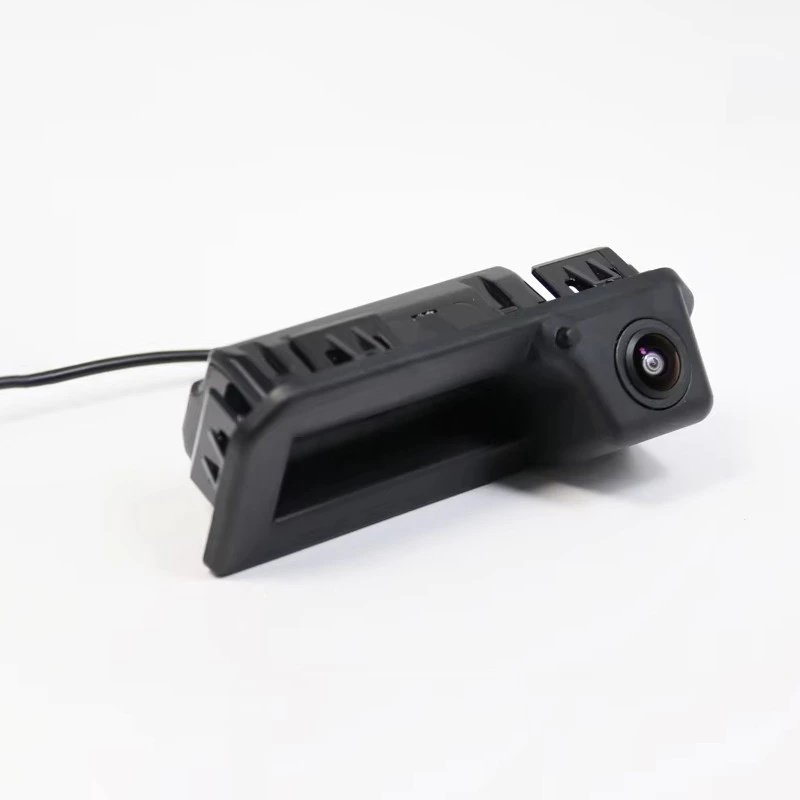
Before we delve into the connection process, let's take a moment to understand the different types of Audi handle cameras we offer. We have a diverse range of products to suit various Audi models and user needs. For instance, the Audi A6 Extended Handle-Mounted Camera is designed specifically for Audi A6 models, providing an extended reach and excellent visibility. The Audi Compact Handle Camera (OEM-Spec Design) offers a sleek and compact design that matches the original equipment manufacturer (OEM) specifications, ensuring a seamless integration with your Audi. And the Audi A6L Handle Camera (Short Wheelbase) is tailored for Audi A6L models with a short wheelbase, delivering high-quality footage.
Prerequisites
Before you start connecting your Audi handle camera to a computer, you'll need to gather a few essential items:
- Audi Handle Camera: Ensure you have the appropriate Audi handle camera for your vehicle model.
- Computer: You'll need a computer with an available USB port or a compatible video input port, depending on the camera's output type.
- Cables: Check the camera's specifications to determine the type of cable you need. Most Audi handle cameras use a USB cable for data transfer, but some may require a specific video cable.
- Software: Some cameras may require specific software to be installed on your computer for proper functionality. Check the camera's user manual or the manufacturer's website for the required software.
Step-by-Step Connection Process
Now that you have everything you need, let's walk through the process of connecting your Audi handle camera to a computer:
Step 1: Power Off the Camera and Computer
Before making any connections, it's important to power off both the camera and the computer to prevent any electrical damage.
Step 2: Connect the Camera to the Computer
- USB Connection: If your camera uses a USB cable, simply plug one end of the cable into the camera's USB port and the other end into an available USB port on your computer.
- Video Cable Connection: If your camera uses a specific video cable, connect one end of the cable to the camera's video output port and the other end to the appropriate video input port on your computer. This may require an adapter if your computer doesn't have the same type of port as the camera.
Step 3: Power On the Camera and Computer
Once the camera is connected to the computer, power on both devices. The computer should automatically detect the camera and install the necessary drivers. If the drivers are not installed automatically, you may need to insert the driver CD that came with the camera or download the drivers from the manufacturer's website.
Step 4: Install the Camera Software
If your camera requires specific software to be installed on your computer, follow the instructions provided in the user manual or on the manufacturer's website to install the software. Once the software is installed, launch it and follow the on-screen prompts to configure the camera settings.
Step 5: Test the Camera
After the camera software is installed and configured, it's time to test the camera to ensure it's working properly. Open the camera software and check if the camera's video feed is displayed on the computer screen. You may need to adjust the camera's position or settings to get the best view.
Troubleshooting Tips
If you encounter any issues during the connection process, here are some troubleshooting tips to help you resolve them:
- Check the Cable Connections: Make sure the cables are securely connected to both the camera and the computer. Loose connections can cause intermittent or no video signal.
- Update the Drivers: If the camera is not detected or not working properly, try updating the drivers to the latest version. You can download the drivers from the manufacturer's website.
- Check the Software Compatibility: Ensure that the software you're using is compatible with your camera and your computer's operating system. Some software may only work with specific versions of Windows or other operating systems.
- Restart the Devices: Sometimes, simply restarting the camera and the computer can resolve connectivity issues. Try powering off both devices, waiting a few seconds, and then powering them back on.
Conclusion
Connecting an Audi handle camera to a computer is a relatively straightforward process that can provide you with valuable footage and enhanced functionality. By following the steps outlined in this guide and using the appropriate cables and software, you can easily connect your camera to a computer and start enjoying its benefits.
If you're interested in purchasing an Audi handle camera or have any questions about our products, we invite you to contact us for a procurement discussion. Our team of experts is ready to assist you in finding the right camera for your needs and ensuring a smooth purchasing process.
References
- Audi Handle Camera User Manuals
- Manufacturer's Websites for Software and Driver Downloads


