


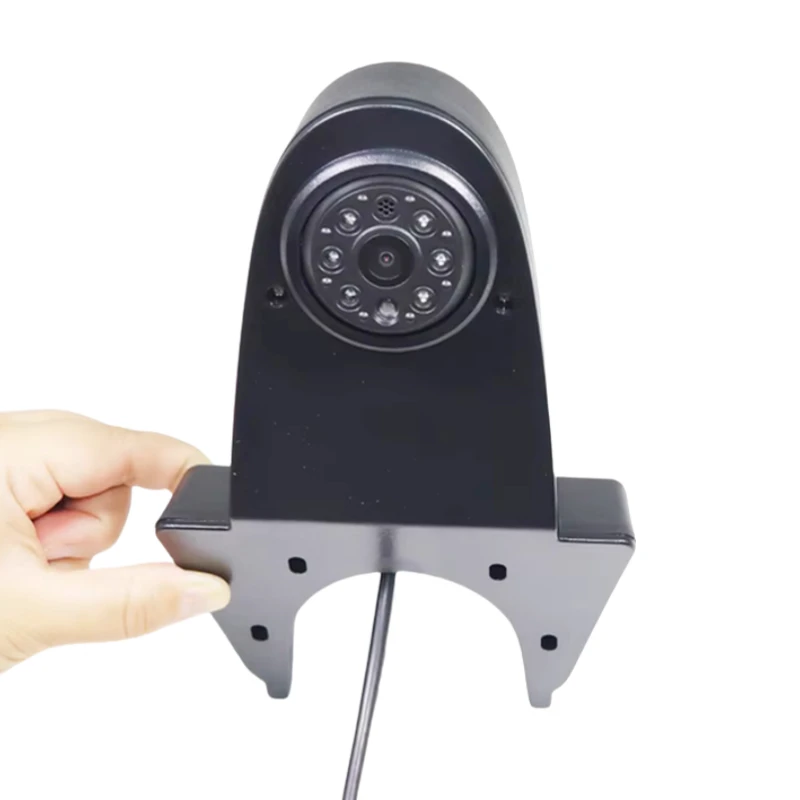
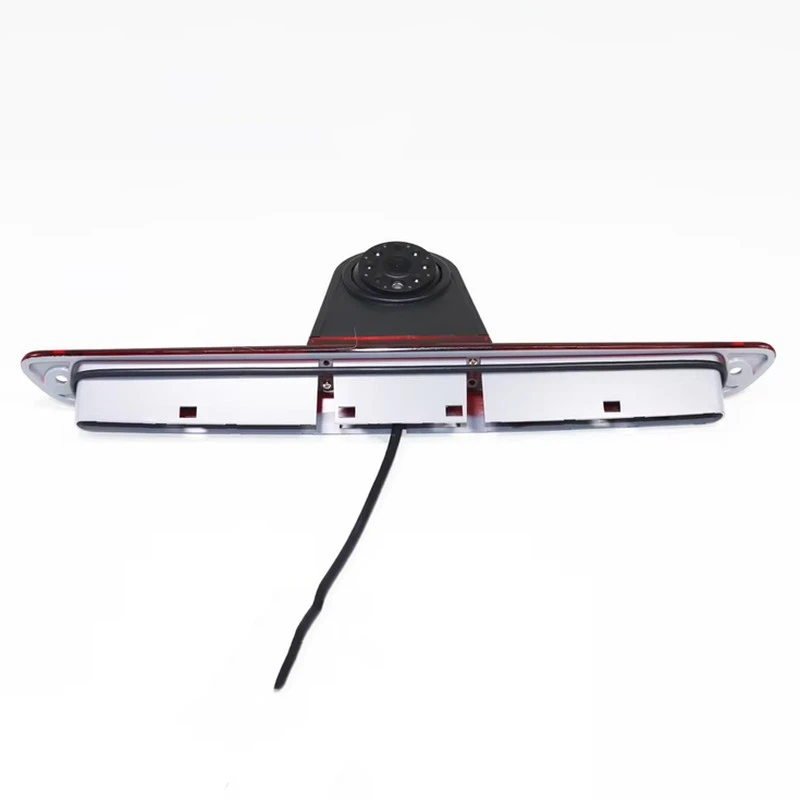
Connecting the Iveco Daily High - Mount Brake Light Camera to a monitor is a crucial step for enhancing vehicle safety and convenience. As a supplier of the Iveco Daily High - Mount Brake Light Camera, I understand the importance of providing clear guidance on this process. In this blog, I'll walk you through the steps to connect the camera to a monitor effectively.
Step 1: Gather the Necessary Tools and Materials
Before you start the installation process, it's essential to gather all the tools and materials you'll need. Here's a list of the common items:
- Iveco Daily High - Mount Brake Light Camera
- Compatible monitor
- Power cable
- Video cable (usually RCA or HDMI depending on the monitor)
- Screwdriver set
- Electrical tape
- Wire connectors
Step 2: Prepare the Vehicle
First, make sure your vehicle is parked in a safe and well - lit area. Turn off the engine and engage the parking brake. This will prevent any accidental movement during the installation process.
Open the rear door or access the area where the high - mount brake light is located. You may need to remove some interior trim panels to gain access to the wiring behind the brake light. Use the screwdriver set to carefully remove the screws holding the trim panels in place.
Step 3: Install the Camera
Locate the high - mount brake light on your Iveco Daily. Remove the existing brake light assembly by unscrewing the mounting screws. Be careful not to damage the surrounding area.
Take the Iveco Daily High - Mount Brake Light Camera and align it with the mounting holes of the original brake light. Secure the camera in place using the provided screws. Make sure the camera is firmly attached and properly aligned for optimal viewing.
Step 4: Connect the Camera Wiring
Once the camera is installed, it's time to connect the wiring. The camera usually comes with a power cable and a video cable.
- Power Connection: Locate the power source for the brake light. This is typically a 12 - volt power supply. Use wire connectors to connect the positive and negative wires of the camera's power cable to the corresponding wires of the brake light power source. Wrap the connections with electrical tape to prevent any short circuits.
- Video Connection: Connect the video cable from the camera to the video input of the monitor. If your monitor has multiple video inputs, choose the one that suits your preference. Make sure the connection is secure to avoid any signal loss.
Step 5: Mount the Monitor
Decide on the best location to mount the monitor inside your vehicle. Common locations include the dashboard, rearview mirror, or center console.
- Dashboard Mounting: If you choose to mount the monitor on the dashboard, use a dashboard mount kit. Clean the surface of the dashboard where you want to mount the monitor and attach the mount according to the manufacturer's instructions. Then, attach the monitor to the mount.
- Rearview Mirror Mounting: Some monitors come with a rearview mirror mount. Simply attach the mount to the rearview mirror and then attach the monitor to the mount. This provides a convenient and unobtrusive viewing option.
- Center Console Mounting: For center console mounting, you may need to drill holes or use existing mounting points. Make sure the monitor is securely attached and does not interfere with other controls or functions in the center console.
Step 6: Power Up and Test
After mounting the monitor and connecting all the cables, it's time to power up the system. Start the engine and turn on the monitor. Check if the camera is working properly by looking at the monitor's display. You should see a clear view of the area behind your vehicle.
If the camera is not working, double - check all the connections. Make sure the power connections are secure and the video cable is properly plugged in. You may also need to adjust the camera's angle for the best view.
Additional Considerations
- Weatherproofing: Since the camera is installed outside the vehicle, it's important to ensure it is weatherproof. Check the camera's specifications to make sure it is rated for outdoor use and can withstand various weather conditions.
- Camera Settings: Some cameras come with adjustable settings such as brightness, contrast, and color. You can adjust these settings on the monitor to optimize the image quality.
Related Products
If you are interested in other high - mount brake light cameras for different vehicle models, we also offer a range of products. Check out our Mercedes Sprinter Vito High - Mount Brake Light Camera, Universal Brake Light Camera for GM Vehicles, and Mercedes Viano Vito High - Mount Brake Light Camera.
Contact for Purchase and Negotiation
If you are interested in purchasing our Iveco Daily High - Mount Brake Light Camera or have any questions about the installation process, please feel free to contact us. We are more than happy to assist you with your procurement needs and engage in further negotiation.
References
- Iveco Daily vehicle manual
- Iveco Daily High - Mount Brake Light Camera user manual
- Monitor user manual


