


Hey there, fellow Toyota Hilux Chrome Edition owners! I'm stoked to share my knowledge as a supplier of Toyota Hilux Chrome Edition Reverse Cameras. If you've got a used Hilux Chrome Edition and you're looking to install a reverse camera, you're in the right place. In this blog, I'll walk you through the process step by step, making it as easy as pie.
Why You Need a Reverse Camera
Let's start by talking about why a reverse camera is a game - changer for your used Hilux Chrome Edition. Backing up a vehicle can be a nerve - wracking experience, especially in a big truck like the Hilux. Blind spots are a real issue, and they can lead to accidents, scratches, and dents. A reverse camera eliminates those blind spots, giving you a clear view of what's behind you. It not only makes parking and reversing safer but also adds a touch of modern convenience to your ride.
What You'll Need
Before we dive into the installation process, let's gather all the tools and materials you'll need. You'll need your Toyota Hilux Chrome Edition Reverse Camera kit, which should come with the camera, cables, and a monitor if it's not already part of your vehicle's system. You'll also need a screwdriver set (both flat - head and Phillips), wire strippers, electrical tape, a drill (if required for mounting), and a test light to check the electrical connections.
Step 1: Choose the Mounting Location
The first step is to decide where you want to mount the camera. The most common location is on the rear bumper or near the license plate. This gives you a good view of the area directly behind the vehicle. Make sure the location is clean and free of any dirt or debris. If you're mounting on the bumper, use a measuring tape to find the center and mark the spot where you'll drill the holes for the camera.
Step 2: Install the Camera
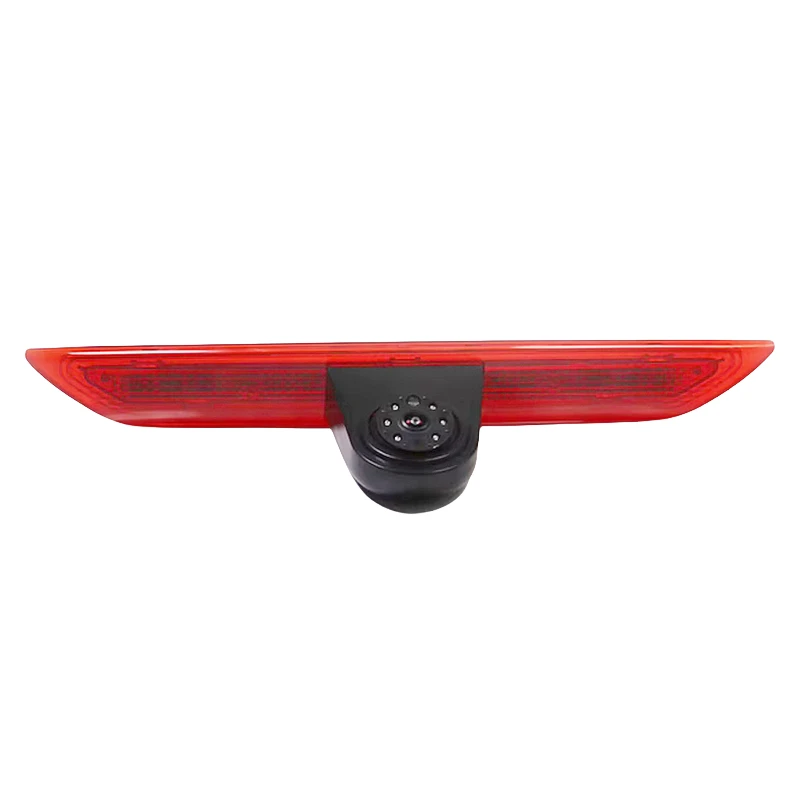
Once you've chosen the mounting location, it's time to install the camera. If the kit comes with a template, use it to mark the holes accurately. Drill the holes carefully, making sure not to damage any other parts of the vehicle. Then, attach the camera to the mounting bracket and secure it in place using the screws provided. Make sure the camera is level and facing straight back.
Step 3: Run the Cables
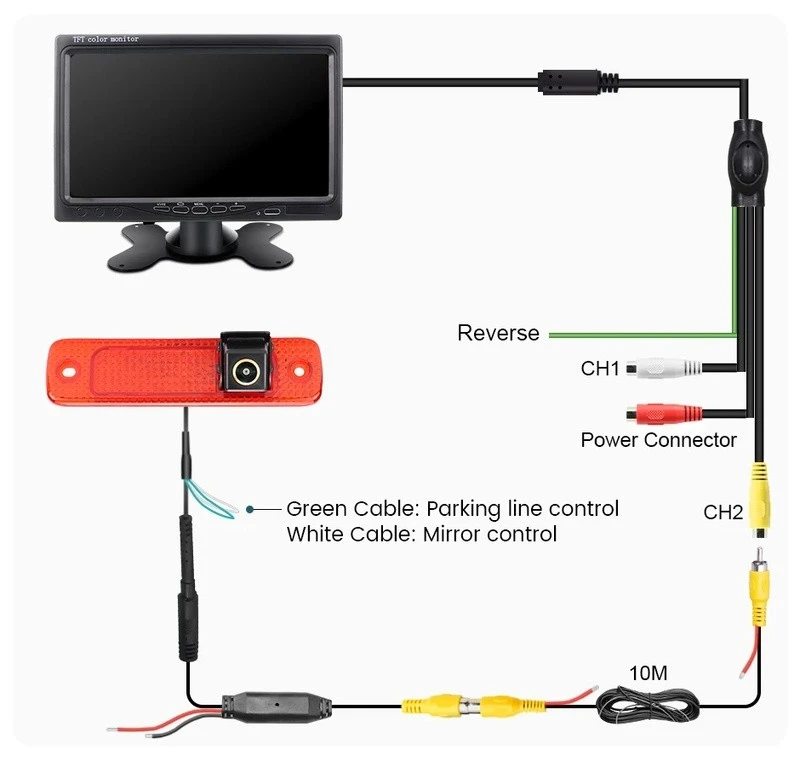
Now comes the tricky part - running the cables. You'll need to route the cables from the camera to the monitor or the vehicle's electrical system. Start by removing any interior panels that are in the way. Be gentle when removing the panels to avoid breaking them. You can run the cables along the existing wiring harnesses to keep them organized and protected. Use zip ties to secure the cables in place at regular intervals.
Step 4: Connect the Electrical Wires
Once the cables are in place, it's time to connect the electrical wires. Use the wire strippers to expose the ends of the wires, and then connect the camera wires to the corresponding wires in the vehicle's electrical system. Make sure to match the colors correctly. If you're not sure which wire is which, refer to the installation manual that came with your camera kit. After connecting the wires, wrap them with electrical tape to prevent any short circuits.
Step 5: Install the Monitor
If your camera kit includes a monitor, you'll need to install it in a visible location inside the vehicle. The most common location is on the dashboard or the rear - view mirror. Use the screwdriver to mount the monitor bracket in place, and then attach the monitor to the bracket. Connect the monitor to the camera cables, following the instructions in the manual.
Step 6: Test the Camera
Before you put everything back together, it's important to test the camera. Start the vehicle and put it in reverse. The monitor should display the view from the camera. If the image is blurry or distorted, check the camera's position and the cable connections. You can also use a test light to check if the electrical connections are working properly.
Step 7: Reassemble the Vehicle
Once you're satisfied with the camera's performance, it's time to reassemble the vehicle. Put back all the interior panels that you removed earlier, and make sure they are properly secured. Double - check all the cable connections to make sure they are tight and secure.
Other Camera Options
If you're interested in other types of backup cameras, we also offer great options for different vehicles. For example, we have the Ford Transit 2006 - 2013 High - Mount Stop Lamp Integrated Backup Camera, which is a great choice for Ford Transit owners. There's also the Brake Light Backup Camera Mercedes Sprinter 2006 - 2018 and the Ford Transit High - Mount Brake Light Camera. These cameras are designed to fit specific models and offer excellent performance.
Conclusion
Installing a reverse camera in your used Toyota Hilux Chrome Edition is a great way to enhance safety and convenience. By following these steps, you can do it yourself and save some money on installation costs. Remember, if you have any questions or run into any issues during the installation process, don't hesitate to reach out.
If you're interested in purchasing a Toyota Hilux Chrome Edition Reverse Camera or any of our other camera products, we're here to help. We offer high - quality products at competitive prices, and our customer service team is always ready to assist you with any questions or concerns. Whether you're a DIY enthusiast or just looking for a reliable supplier, we've got you covered. So, don't wait any longer - give your used Hilux Chrome Edition the upgrade it deserves and enjoy a safer and more convenient driving experience.
References
- Toyota Hilux Chrome Edition Reverse Camera Installation Manual
- General Automotive Electrical Wiring Guides


