


Hey there! As a supplier of Volkswagen VW handle reversing cameras, I've seen firsthand how crucial it is to position these cameras correctly. A well - positioned reversing camera can make a world of difference in terms of safety and convenience when you're backing up your Volkswagen. So, let's dive into how you can get that perfect positioning.
Why Correct Positioning Matters
First off, why should you even care about positioning? Well, a properly positioned VW handle reversing camera gives you a clear and unobstructed view of what's behind your car. This helps you avoid collisions with other vehicles, pedestrians, or objects. It also makes parking a breeze, especially in tight spots. You'll be able to see exactly where you're going and make precise maneuvers.
Tools You'll Need
Before you start the positioning process, gather the necessary tools. You'll need a screwdriver (usually a Phillips - head or flat - head, depending on your car model), a measuring tape, and a level. The screwdriver will be used to attach the camera, the measuring tape for accurate placement, and the level to ensure the camera is straight.
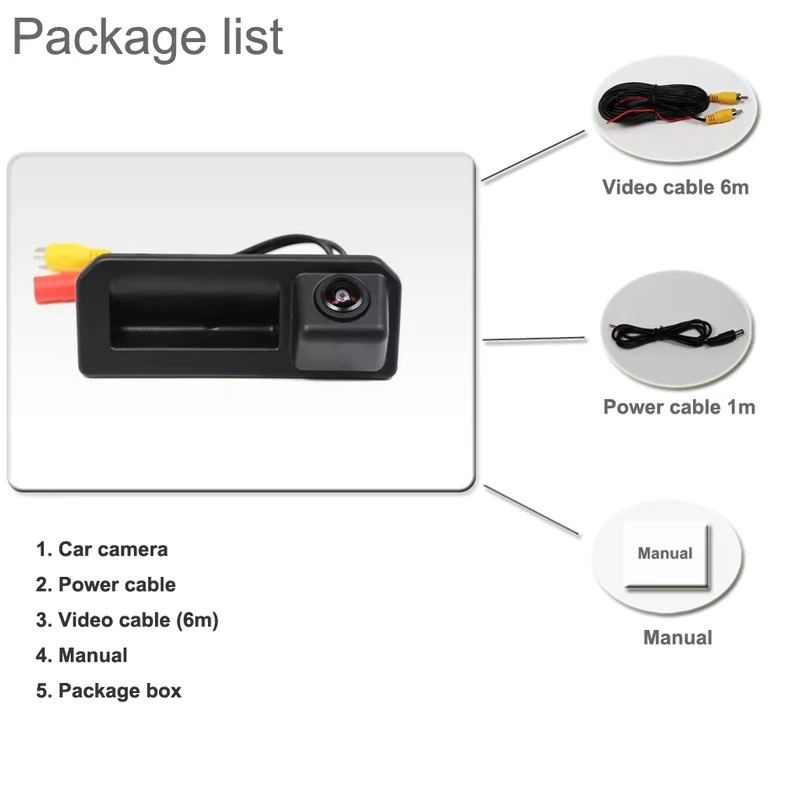
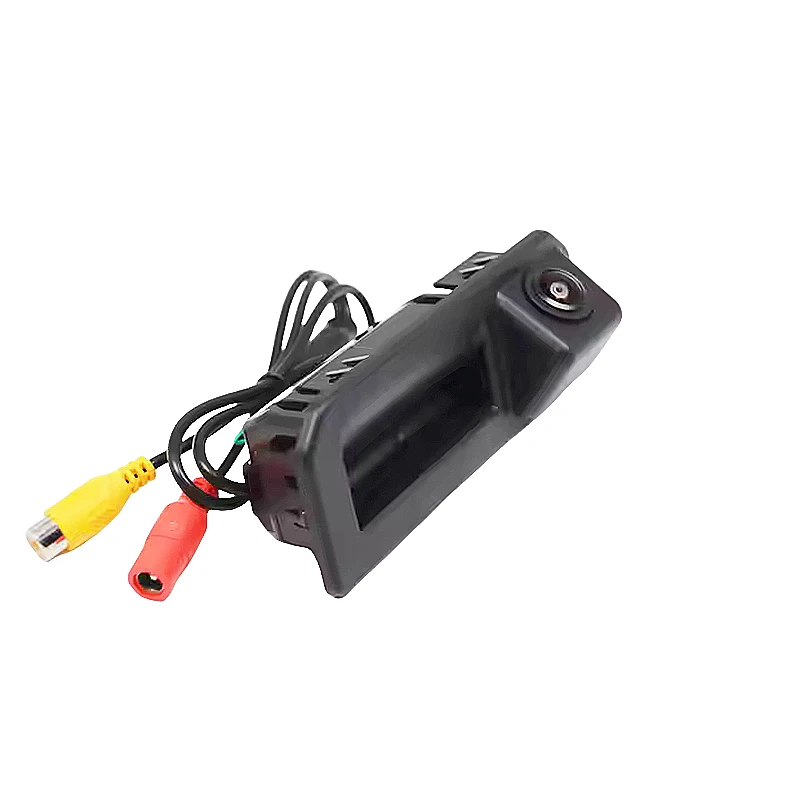
Types of Volkswagen VW Handle Reversing Cameras
We offer a few different types of Volkswagen VW handle reversing cameras. There's the Volkswagen & Audi Compact Handle Camera (OEM - Spec Design), which is great for those who want a sleek and compact design. It fits nicely on the handle and doesn't take up much space.
Then, there's the Volkswagen & Audi OEM Handle Camera (Legacy Rear Studded Version). This one has a more traditional look and is known for its durability.
Lastly, the Volkswagen & Audi Large Handle Camera (OEM - Spec Design) offers a wider field of view, which can be really helpful when you need to see more of what's behind you.
Step - by - Step Positioning Guide
Step 1: Clean the Area
Start by cleaning the area where you'll be installing the camera. Use a clean cloth and some mild detergent to remove any dirt, grime, or grease. This ensures a good adhesion if your camera uses adhesive, and it also gives you a clear view of the surface for accurate placement.
Step 2: Determine the Ideal Height
The height of the camera is important. You want it to be high enough to get a good view over any low - lying objects but not so high that it looks down too much and misses things close to the bumper. A general rule of thumb is to position the camera about 12 to 18 inches above the ground. Use your measuring tape to mark this height on the handle.
Step 3: Find the Center
Next, find the center of the handle. This is usually the middle point between the two ends of the handle. You can use the measuring tape to measure the length of the handle and then divide it by two to find the center. Mark this point with a small piece of tape.
Step 4: Check the Angle
The angle of the camera is crucial for getting the right view. You want the camera to be angled slightly downwards. This allows you to see the area directly behind the car as well as a bit further out. Use the level to make sure the camera is straight horizontally and then adjust the vertical angle. You can test the angle by connecting the camera to a monitor (if possible) and backing up your car to see what the view looks like.
Step 5: Attach the Camera
Once you're satisfied with the height, center, and angle, it's time to attach the camera. If your camera uses screws, carefully align it with the marked points and use the screwdriver to secure it in place. Make sure the screws are tightened enough but not so tight that you damage the handle or the camera. If it uses adhesive, follow the manufacturer's instructions for applying the adhesive and attaching the camera.
Step 6: Test the Camera
After attaching the camera, test it out. Start your car, put it in reverse, and check the monitor. Make sure the view is clear and that you can see everything you need to see. If the view is too high or too low, or if it's not centered, you may need to make some adjustments.
Troubleshooting
Sometimes, you might run into some issues during the positioning process. If the image on the monitor is blurry, check the connections to make sure they're secure. You might also need to clean the lens of the camera.
If the camera is not getting power, check the wiring. Make sure the wires are properly connected and that there are no loose or damaged connections.
Conclusion
Positioning a Volkswagen VW handle reversing camera correctly is not as hard as it might seem. By following these steps and using the right tools, you can ensure that you get a clear and useful view when backing up your car.
If you're in the market for a high - quality Volkswagen VW handle reversing camera, we've got you covered. We offer a range of cameras to suit different needs and preferences. Whether you're looking for a compact design, a durable option, or a wide - angle view, we have the perfect camera for you.
If you have any questions or want to discuss your specific requirements, feel free to reach out. We're here to help you make the right choice and ensure that your camera is installed and positioned correctly.
References
- General automotive installation guides for reversing cameras
- Volkswagen vehicle owner's manuals


