


Hey there! As a supplier of Volvo reversing camera decoding modules, I often get asked about how to remove these modules if needed. In this blog post, I'll walk you through the process step by step.
First off, let's talk about why you might need to remove the decoding module. There could be several reasons. Maybe you're upgrading to a newer model of the module, or perhaps there's an issue with the current one and you need to replace it. Whatever the reason, it's important to know how to do it safely and correctly.
Before You Start
Before you start the removal process, you need to gather a few tools. You'll typically need a set of screwdrivers, preferably Phillips and flat - head ones, as most Volvo cars use these types of screws to secure the interior panels. You might also need a trim removal tool. This tool helps you gently pry off the interior trims without causing any damage to them.
It's also a good idea to disconnect the car's battery. This is a safety precaution to avoid any electrical shocks or short - circuits while you're working on the module. To disconnect the battery, locate the battery in your Volvo. Usually, it's in the engine compartment. Use a wrench to loosen the negative terminal first (it's marked with a minus sign), and then the positive terminal.
Locating the Decoding Module
The location of the Volvo reversing camera decoding module can vary depending on the model and year of your car. For the Volvo Full - Range 7 - Inch Reverse Camera Decoder Module (2015 - 2017 Model Compatibility), it's often installed near the rearview mirror area or under the dashboard on the driver's side.
If you have a more recent model, like the ones compatible with the Volvo Vertical Screen Full - Range Reverse Camera Decoder Module (2017 - 2022 Model Compatibility), the module might be located in the center console area or behind the infotainment system.
You can refer to your car's owner's manual for the exact location. If you don't have the manual, a quick online search with your car's make, model, and year can also give you some clues.
Removing the Interior Trims
Once you've located the general area where the module is installed, you'll likely need to remove some interior trims to access it. Start by using the trim removal tool to gently pry off the edges of the trim pieces. Begin at the corners or edges where the trim is less likely to be tightly attached.
Work your way around the trim piece, applying gentle pressure. If you encounter any resistance, stop and check if there are any hidden screws. Sometimes, there are screws behind small plastic covers that you need to remove first.
Be careful not to force the trim pieces off, as this can cause them to crack or break. If you're having trouble, take a break and double - check your approach.
Disconnecting the Module
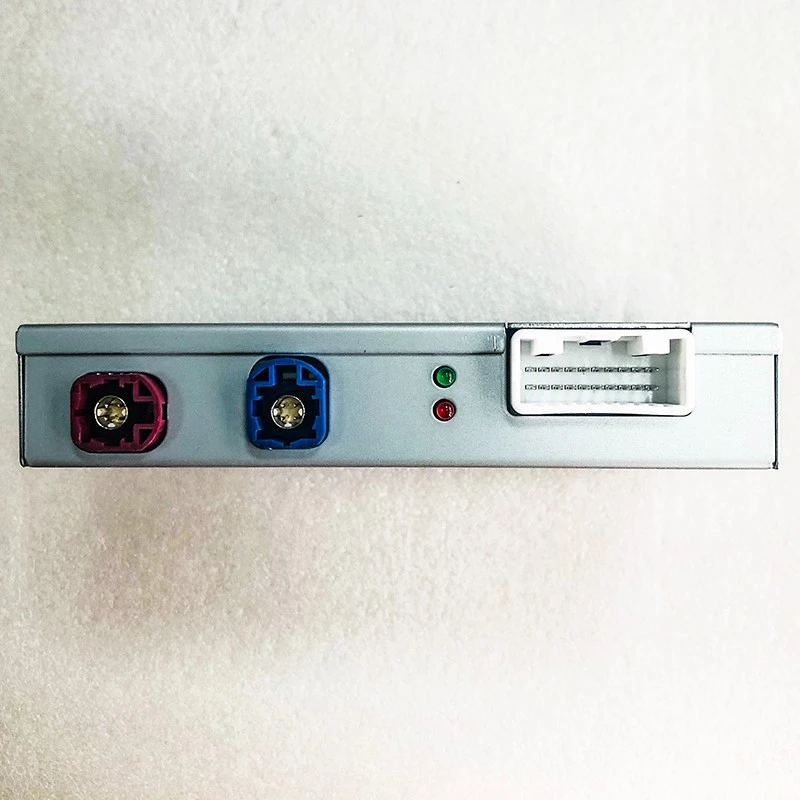
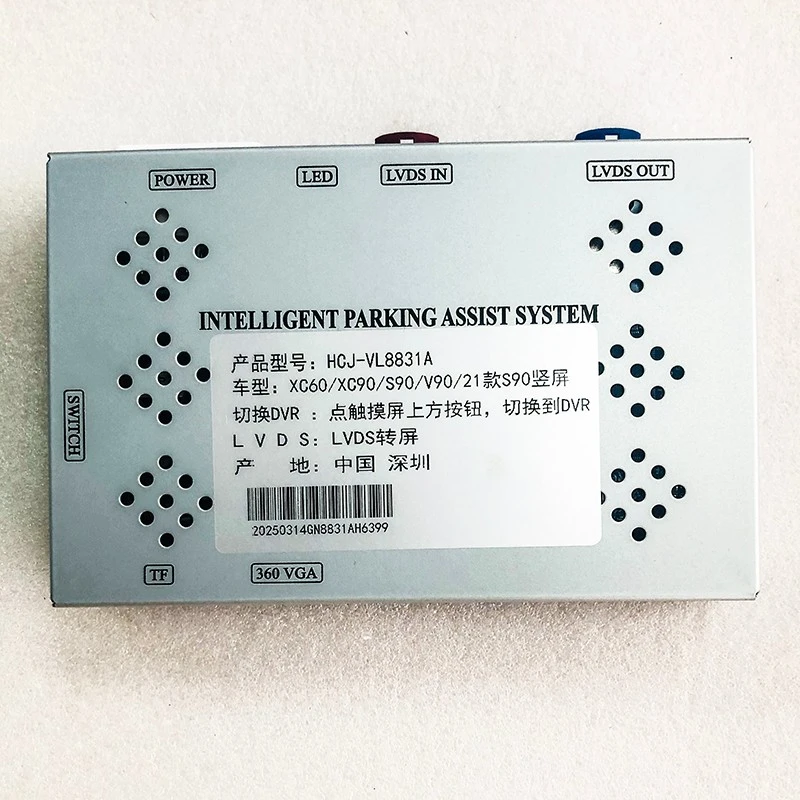
After removing the necessary interior trims, you'll be able to see the decoding module. It's usually a small, rectangular box with several wires connected to it. Before you start disconnecting the wires, take a picture of the wiring layout. This will help you reconnect everything correctly later.
The wires are usually connected to the module via electrical connectors. To disconnect them, gently squeeze the locking tabs on the connectors and pull them apart. Some connectors might have a more complex locking mechanism, so make sure you understand how they work before you try to disconnect them.
Once all the wires are disconnected, you'll need to remove any screws or brackets that are holding the module in place. Use the appropriate screwdriver to remove the screws, and then carefully lift the module out of its mounting position.
Reassembling Everything
After you've removed the module, it's time to put everything back together. First, reinstall the module if you're just doing some maintenance or testing. Make sure it's properly seated in its mounting position and secure it with the screws or brackets.
Then, reconnect the wires according to the picture you took earlier. Double - check that all the connectors are firmly attached.
Next, reinstall the interior trims. Start by aligning the trim pieces with their original positions and gently press them into place. You might hear a clicking sound when they're properly installed.
Finally, reconnect the car's battery. Connect the positive terminal first and then the negative terminal, tightening them with the wrench.
Testing the System
Once you've reassembled everything, start your car and put it in reverse. Check if the reversing camera still works. If it doesn't, double - check all the connections and make sure the module is installed correctly.
If you're still having issues, it could be a sign of a more serious problem. In that case, it might be a good idea to consult a professional mechanic or contact our support team for further assistance.
Why Choose Our Modules
As a supplier of Volvo reversing camera decoding modules, we take pride in offering high - quality products. Our modules are designed to be compatible with a wide range of Volvo models, ensuring a perfect fit and seamless integration with your car's existing system.
We use the latest technology to provide clear and accurate images from the reversing camera, enhancing your safety while driving in reverse. Our modules are also built to last, with durable materials and reliable components.
Contact Us for Purchasing
If you're in the market for a new Volvo reversing camera decoding module or have any questions about the removal process, don't hesitate to reach out. We're here to help you find the right product for your needs and provide you with the support you deserve. Whether you're a car enthusiast looking to upgrade your vehicle or a professional mechanic, we've got you covered.
References
- Volvo Owner's Manuals
- Automotive repair guides for Volvo models


