


If you're a Land Rover owner facing issues with your reversing camera, a faulty decoding module could be the culprit. As a trusted supplier of Land Rover reversing camera decoding modules, I'm here to guide you through the process of replacing this crucial component. In this blog post, I'll provide you with a step-by-step guide, along with some essential tips and considerations to ensure a successful replacement.
Understanding the Land Rover Reversing Camera Decoding Module
Before we dive into the replacement process, let's take a moment to understand what the reversing camera decoding module does. This module is responsible for translating the signals from the reversing camera into a format that can be displayed on your vehicle's infotainment system. It also plays a crucial role in ensuring that the camera image is clear, accurate, and properly aligned.
A faulty decoding module can cause a variety of issues, including a blank or distorted image, incorrect color representation, or a complete loss of camera functionality. If you're experiencing any of these problems, it's likely that your decoding module needs to be replaced.
Tools and Materials You'll Need
Before you begin the replacement process, gather the following tools and materials:
- A new Land Rover reversing camera decoding module
- A set of basic hand tools, including screwdrivers and wrenches
- Electrical tape
- A multimeter (optional, but recommended for testing electrical connections)
Step-by-Step Guide to Replacing the Decoding Module
- Disconnect the Battery: Before you start working on any electrical components in your vehicle, it's essential to disconnect the battery to prevent the risk of electrical shock or damage to the system. Locate the battery in your Land Rover and use a wrench to loosen the negative terminal. Once the terminal is loose, carefully remove the cable and set it aside.
- Locate the Decoding Module: The location of the reversing camera decoding module can vary depending on the make and model of your Land Rover. In most cases, it can be found near the infotainment system or the rear of the vehicle. Refer to your vehicle's owner's manual or a repair guide for specific instructions on locating the module.
- Remove the Old Decoding Module: Once you've located the module, use a screwdriver or wrench to remove the mounting screws or bolts that hold it in place. Carefully disconnect the electrical connectors from the module, taking note of their positions and orientations. You may need to use a small flathead screwdriver to gently pry the connectors loose.
- Install the New Decoding Module: Take the new decoding module and align it with the mounting holes in the vehicle. Secure the module in place using the mounting screws or bolts that you removed earlier. Connect the electrical connectors to the new module, ensuring that they are properly seated and secure.
- Reconnect the Battery: Once the new decoding module is installed, reconnect the negative terminal on the battery. Use a wrench to tighten the terminal securely.
- Test the Reversing Camera: Start your Land Rover and put it in reverse gear. Check the infotainment system to see if the reversing camera image is clear, accurate, and properly aligned. If the image is still distorted or there are other issues, double-check all the electrical connections and make sure the module is properly installed.
Tips and Considerations
- Use Genuine Parts: When replacing the reversing camera decoding module, it's important to use a genuine Land Rover part or a high-quality aftermarket replacement. This will ensure that the module is compatible with your vehicle's system and provides reliable performance.
- Follow the Manufacturer's Instructions: Always refer to the manufacturer's instructions and guidelines when installing the decoding module. This will help you avoid any potential issues or damage to the system.
- Test the System Before Final Assembly: Before you reassemble any parts of the vehicle, test the reversing camera system to make sure it's working properly. This will save you time and effort in case there are any issues that need to be addressed.
- Seek Professional Help if Needed: If you're not comfortable working on your vehicle's electrical system or if you encounter any difficulties during the replacement process, it's recommended to seek professional help from a qualified mechanic or Land Rover dealership.
Other Related Products
In addition to Land Rover reversing camera decoding modules, we also offer a wide range of other products to enhance your vehicle's safety and functionality. Here are some of our popular products:
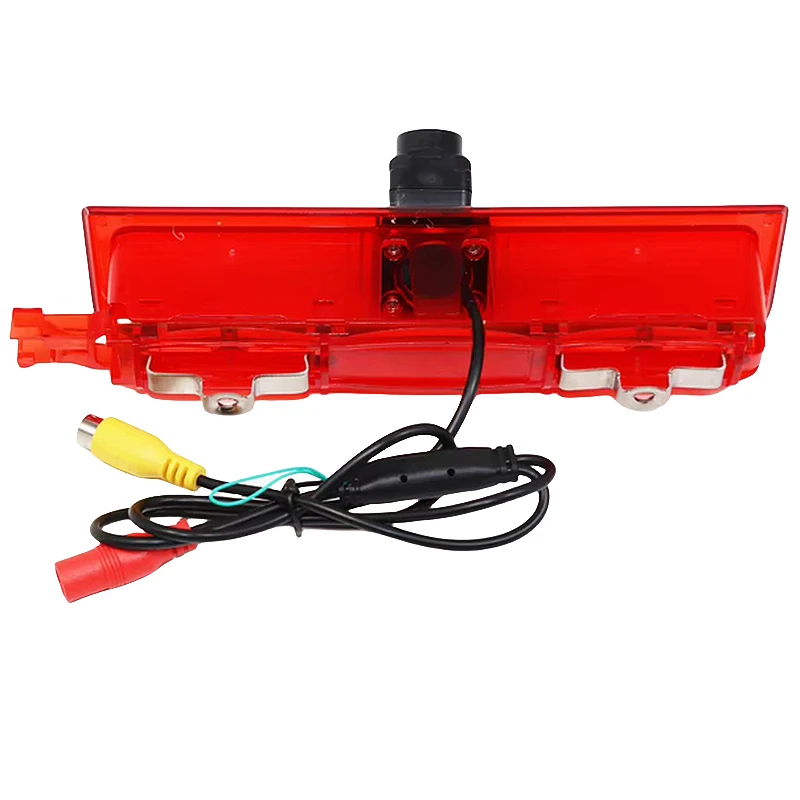
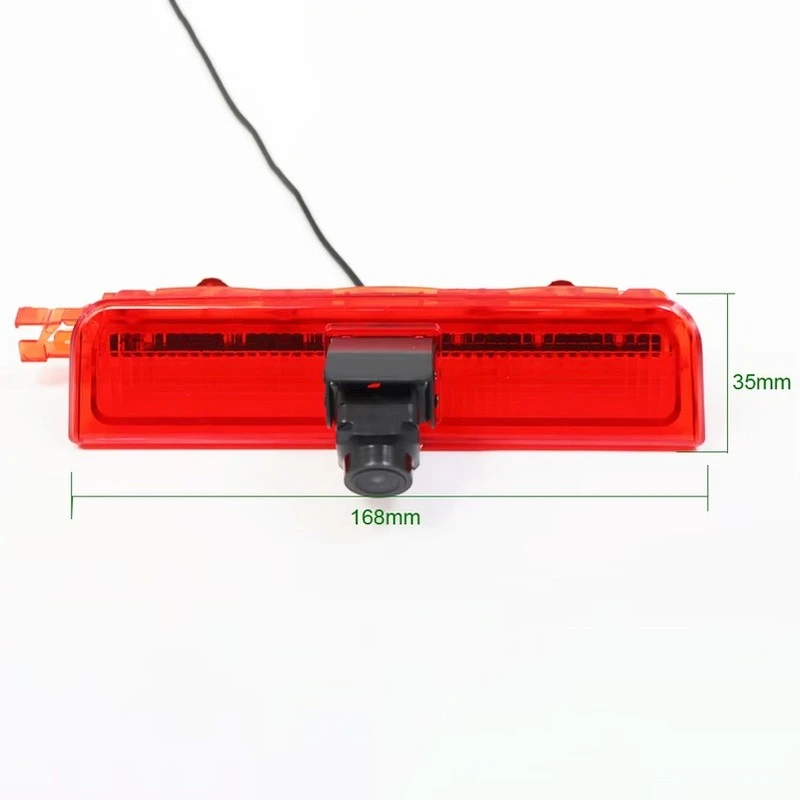
- Volkswagen Caddy High-Mount Brake Light Backup Camera: This high-quality backup camera is designed to provide a clear and wide view of the area behind your Volkswagen Caddy. It's easy to install and compatible with most Caddy models.
- BMW MGU System Reverse Camera Decoder Module (Full 2019-2024 Model Compatibility): If you own a BMW with the MGU system, this decoder module is the perfect solution for adding a reversing camera to your vehicle. It's fully compatible with all 2019-2024 BMW models and provides a seamless integration with your vehicle's infotainment system.
- Multi-Brand High-Mount Brake Light Camera for Renault/Opel/Nissan: This versatile backup camera is designed to fit a variety of Renault, Opel, and Nissan models. It's easy to install and provides a clear and wide view of the area behind your vehicle.
Contact Us for Procurement
If you're interested in purchasing a Land Rover reversing camera decoding module or any of our other products, please don't hesitate to contact us. We offer competitive prices, high-quality products, and excellent customer service. Our team of experts is always available to answer your questions and provide you with the support you need.
References
- Land Rover Owner's Manual
- Automotive Repair Guides


