


Hey there! As a supplier of the Toyota Hilux Chrome Edition Reverse Camera, I've seen firsthand how important it is to secure the wiring properly during installation. A well - secured wiring not only ensures the camera works smoothly but also prevents potential electrical issues down the road. So, let's dive into how you can do it right.
Pre - installation Checks
Before you even start hooking up the wires, you gotta do a few checks. First off, gather all the tools you'll need. You'll typically need wire strippers, electrical tape, crimping tools, and maybe a drill if you need to make holes for the wiring.
Inspect the camera and the wiring that comes with it. Look for any signs of damage like cuts or frayed wires. If you find any, don't use them. Contact us, and we'll send you a replacement. This step is crucial because damaged wires can lead to short circuits or intermittent camera function.
Planning the Wiring Route
The next step is to plan where you're going to run the wires. You want to choose a route that's out of the way of moving parts, like doors and the tailgate. A common route is to run the wires along the frame of the vehicle. This keeps them protected from being pinched or damaged.
Another thing to consider is the length of the wires. Make sure you have enough to reach from the camera to the monitor without having to stretch them too much. If the wires are too short, you might need to splice in an extension, which adds an extra step and a potential weak point in the wiring.
Securing the Wires to the Vehicle
Once you've planned the route, it's time to start securing the wires. One of the easiest ways is to use cable ties. These are inexpensive and easy to use. Simply loop the cable tie around the wires and the part of the vehicle frame you're attaching them to, and tighten it up. Make sure not to overtighten, as this can damage the wires.
You can also use wire clips. These are a bit more secure than cable ties and are great for areas where the wires need to be held firmly in place. Wire clips come in different sizes, so choose ones that fit your wires properly.
Connecting the Power Wires
Now, let's talk about connecting the power wires. The power wires are what supply electricity to the camera. You'll usually have a positive and a negative wire.
First, identify the power source in your Toyota Hilux Chrome Edition. This is often the reverse light circuit. To connect the wires, you can use wire connectors. There are different types, like butt connectors and quick - splice connectors.
If you're using butt connectors, you'll need to strip the ends of the wires, insert them into the connector, and then crimp it using a crimping tool. Quick - splice connectors are even easier. You just clamp them onto the existing wire, and they make a connection without having to strip the wire.
But be careful when connecting to the reverse light circuit. You don't want to cause any electrical problems. If you're not confident, it might be a good idea to consult a professional.
Grounding the Camera
Grounding is an important part of the installation. The ground wire is usually black. You need to connect it to a good ground point on the vehicle. This could be a bolt on the frame or a metal part of the body.
Before connecting, make sure the ground point is clean. Use a wire brush to remove any rust or paint. Then, attach the ground wire using a ring terminal and a bolt. Tighten the bolt securely to ensure a good connection.
Protecting the Wires from the Elements
Your Toyota Hilux might be exposed to all sorts of weather conditions, so it's important to protect the wires from the elements. You can use wire loom or conduit. Wire loom is a flexible tube that you can slide the wires into. It protects them from water, dirt, and debris.
Conduit is a more rigid option and is great for areas where the wires need extra protection. You can cut the conduit to the right length and then run the wires through it.
Testing the Camera
After you've secured all the wiring and connected everything, it's time to test the camera. Turn on your vehicle, put it in reverse, and check if the camera works. If it doesn't, don't panic. Check all the connections first. Make sure the power wires are properly connected, and the ground is secure.
If you still can't get it to work, contact us. We have a team of experts who can help you troubleshoot the problem.
Additional Tips
- If you're running the wires through a tight space, like a rubber grommet, use a lubricant to make it easier. This will prevent the wires from getting damaged.
- When splicing wires, use electrical tape to cover the connection. This adds an extra layer of protection and helps prevent short circuits.
Related Products
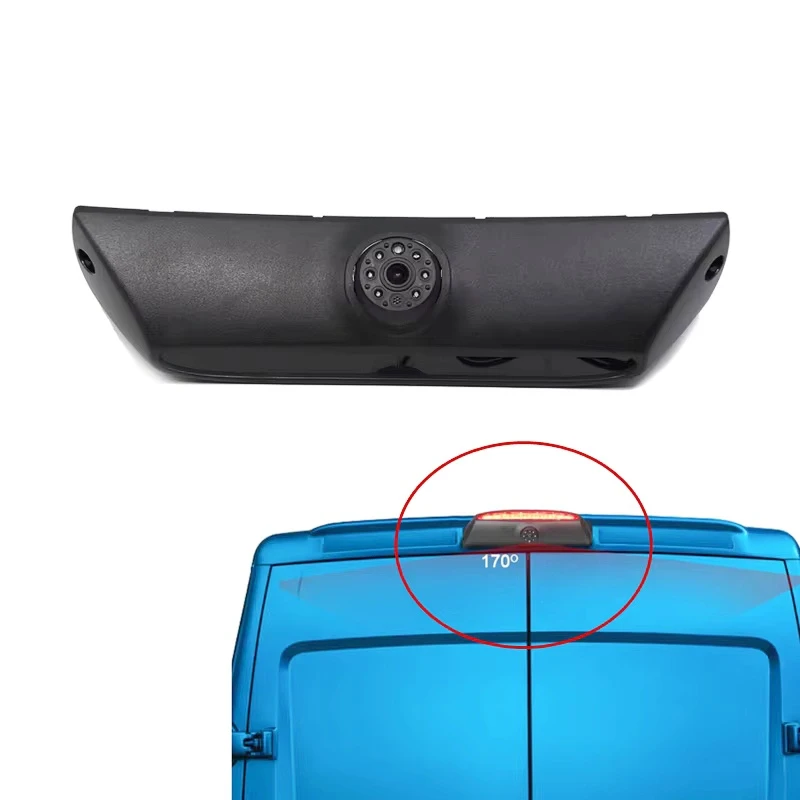
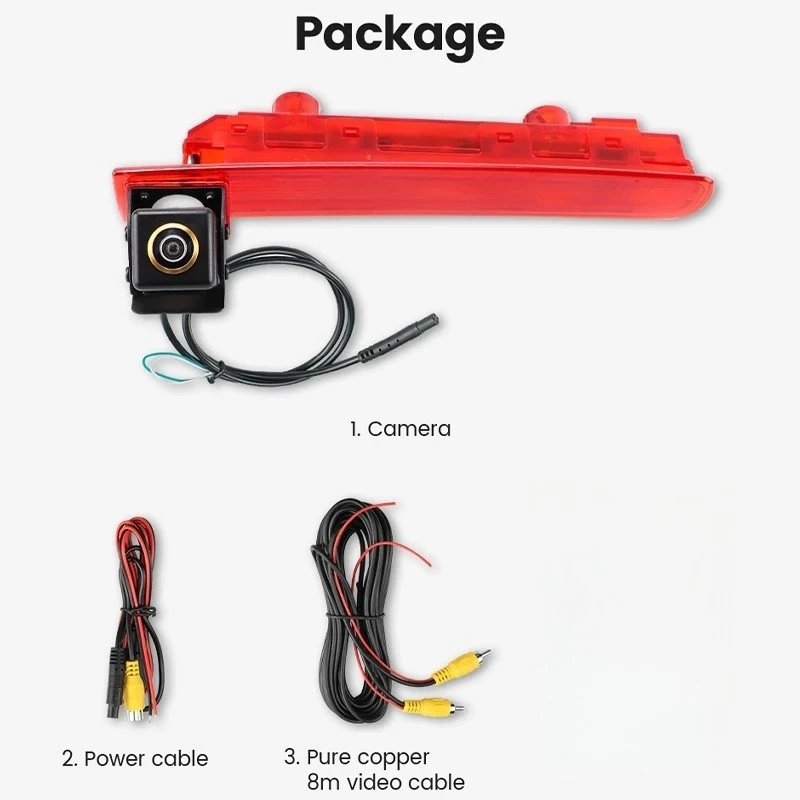
If you're interested in other types of backup cameras, we also offer some great options. Check out our Brake Light Backup Camera Mercedes Sprinter 2006 - 2018, Iveco Daily High - Mount Brake Light Camera, and Volkswagen T5/T6 High - Mount Brake Light Camera. These cameras are designed for specific vehicles and come with their own installation instructions.
Conclusion
Securing the wiring of the Toyota Hilux Chrome Edition reverse camera during installation is a critical step. By following these steps, you can ensure that your camera works properly and lasts a long time. If you have any questions or need more information, don't hesitate to reach out to us. We're here to help you with all your reverse camera needs. Whether you're a DIY enthusiast or a professional installer, we've got the products and support you need. So, get in touch with us today to discuss your purchase and installation requirements.
References
- "Automotive Electrical Systems Handbook"
- Manufacturer's installation guide for the Toyota Hilux Chrome Edition Reverse Camera


