


As a supplier of the Iveco Daily High-Mount Brake Light Camera, I understand that many customers are interested in how to transfer the recorded videos from this camera. In this blog post, I will provide a comprehensive guide on the process, including the necessary steps and considerations.
Understanding the Iveco Daily High-Mount Brake Light Camera
Before delving into the video transfer process, let's briefly understand the features of the Iveco Daily High-Mount Brake Light Camera. This camera is specifically designed for the Iveco Daily commercial vehicle. It is integrated into the high-mount brake light, providing a discreet and effective way to capture rear - view footage. The camera offers high - resolution video recording, which is crucial for security and monitoring purposes. Whether you are using the vehicle for business deliveries or personal transportation, the recorded videos can serve as valuable evidence in case of an accident or other incidents.
You can learn more about this camera on our product page: Iveco Daily High-Mount Brake Light Camera.
Prerequisites for Video Transfer
- Storage Medium: The Iveco Daily High-Mount Brake Light Camera usually records videos onto a built - in SD card. Make sure the SD card has sufficient capacity and is properly inserted into the camera.
- Transfer Device: You will need a device to transfer the videos. This can be a computer (desktop or laptop) with an SD card reader or a mobile device (smartphone or tablet) with an appropriate adapter.
- Software: For computers, ensure that you have a media player installed that can play the video format recorded by the camera. For mobile devices, most modern operating systems can handle common video formats, but it's good to have a media player app just in case.
Step - by - Step Guide to Transfer Videos
Using a Computer
- Locate the SD Card: First, you need to access the SD card in the Iveco Daily High - Mount Brake Light Camera. This may involve removing the brake light assembly carefully. Refer to the camera's user manual for detailed instructions on accessing the SD card.
- Insert the SD Card into the Reader: Once you have removed the SD card, insert it into the SD card reader of your computer. If your computer doesn't have a built - in SD card reader, you can use an external one that connects via USB.
- Access the SD Card on the Computer: After inserting the SD card, your computer should detect it automatically. Open the file explorer (Windows) or finder (Mac). You will see the SD card listed as a removable drive.
- Find the Video Files: Navigate through the folders on the SD card to find the video files. The camera may organize the videos by date or time. Look for files with common video extensions such as.mp4,.avi, or.mov.
- Copy the Videos: Select the video files you want to transfer and copy them to a folder on your computer. You can create a new folder specifically for the camera videos for better organization.
- Eject the SD Card: After the transfer is complete, safely eject the SD card from your computer to avoid data corruption.
Using a Mobile Device
- Get an Adapter: If your mobile device doesn't have a built - in SD card slot, you will need an adapter. For example, an OTG (On - The - Go) adapter for Android devices or a Lightning to SD Card Reader for iPhones and iPads.
- Insert the SD Card into the Adapter: Connect the SD card to the adapter and then connect the adapter to your mobile device.
- Access the SD Card on the Mobile Device: Your mobile device should detect the SD card. Open the file manager app on your device. You can then navigate to the SD card and find the video files.
- Transfer the Videos: You can either copy the video files to the internal storage of your mobile device or share them directly via email, messaging apps, or cloud storage services.
Considerations and Troubleshooting
Data Security
- Backup the Videos: It's always a good idea to make a backup of the transferred videos. You can store the backups on an external hard drive or in a cloud storage service. This ensures that you don't lose the valuable video data in case of a computer crash or other issues.
- Protect the SD Card: When handling the SD card, be careful not to damage it. Avoid exposing it to extreme temperatures, moisture, or magnetic fields.
Troubleshooting
- SD Card Not Detected: If your computer or mobile device doesn't detect the SD card, check if the card is inserted correctly. Try cleaning the contacts on the SD card with a soft, dry cloth. If the problem persists, the SD card may be damaged, and you may need to replace it.
- Video Files Not Playing: If the video files won't play, make sure you have the correct media player installed. Try opening the files with different media players to see if the problem is with the player or the video file itself.
Related Products
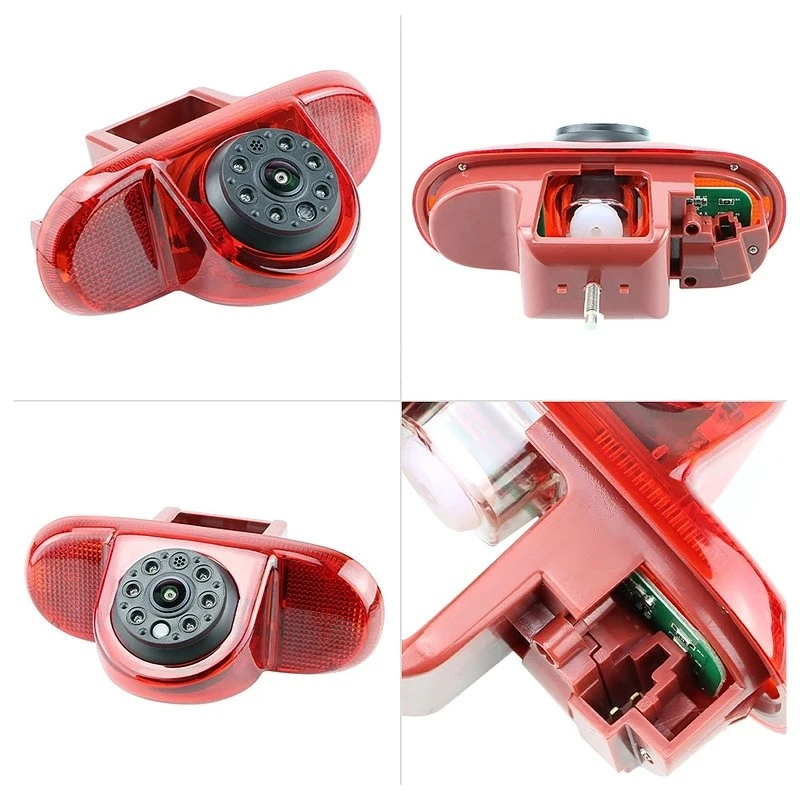
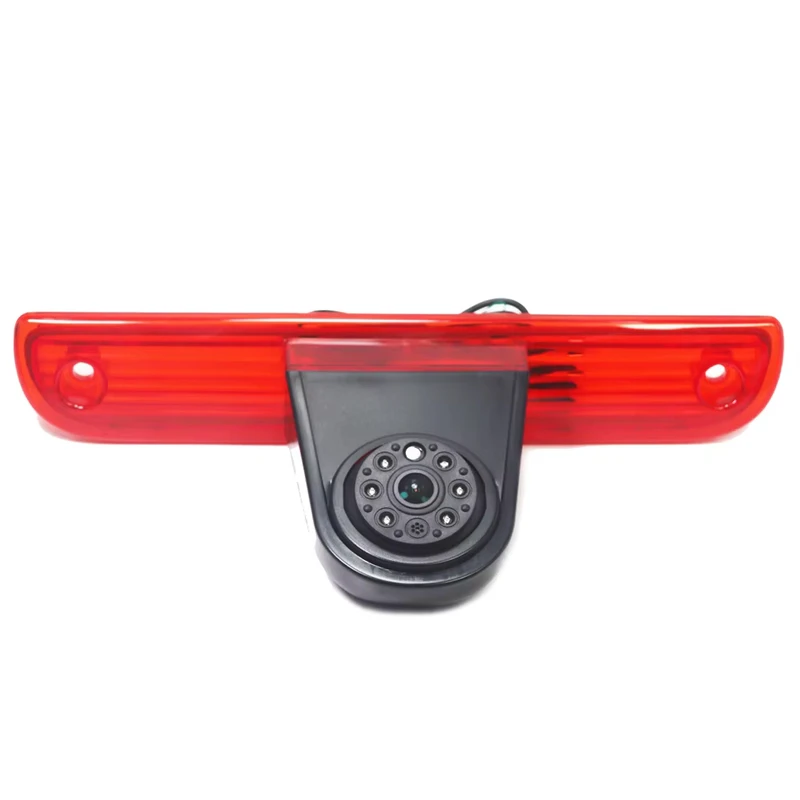
If you are also interested in high - mount brake light cameras for other vehicles, we offer a range of products. For example, the Renault Trafic Combo & Vauxhall Vivaro High - Mount Brake Light Camera and the Fiat Ducato/Doblo 2006 - 2018 High - Mount Stop Lamp Integrated Backup Camera. These cameras have similar video recording features and the transfer process is also quite similar.
Conclusion
Transferring the recorded videos from the Iveco Daily High - Mount Brake Light Camera is a relatively straightforward process, whether you use a computer or a mobile device. By following the steps outlined in this guide, you can easily access and manage the video data. The ability to transfer and review the videos provides added security and peace of mind for Iveco Daily vehicle owners.
If you are interested in purchasing the Iveco Daily High - Mount Brake Light Camera or have any questions about the video transfer process, please feel free to contact us for further discussion and procurement negotiation.
References
- Iveco Daily High - Mount Brake Light Camera User Manual
- General knowledge of SD card usage and video file management


