


Hey there! As a supplier of the Toyota Hilux Chrome Edition Reverse Camera, I'm stoked to walk you through the process of installing this nifty gadget in a left - hand - drive vehicle. Whether you're a DIY enthusiast or just looking to save some bucks on installation, this guide is for you.
Tools You'll Need
First things first, let's gather the tools. You'll need a socket set, a screwdriver set (both flat - head and Phillips), electrical tape, wire strippers, and a drill (if necessary). Having these tools at hand will make the installation process a whole lot smoother.
Pre - installation Checks
Before you start tearing your vehicle apart, it's important to do a few pre - installation checks. Make sure your vehicle's battery is disconnected to avoid any electrical mishaps. Also, take a good look at the reverse camera and the wiring harness that comes with it. Check for any visible damage or defects. If you spot anything wrong, don't hesitate to reach out to us, and we'll sort it out for you.
Finding the Right Location
The first step in the actual installation is finding the right location for the reverse camera. For a left - hand - drive Toyota Hilux Chrome Edition, the ideal spot is usually near the license plate. This location gives you a clear view of what's behind the vehicle when you're in reverse.
Once you've decided on the location, clean the area thoroughly. You want to make sure there's no dirt, grime, or wax on the surface where the camera will be mounted. This will ensure a good, strong adhesion.
Mounting the Camera
Now it's time to mount the camera. Most Toyota Hilux Chrome Edition reverse cameras come with a mounting bracket. Use the screwdriver to attach the bracket to the camera. Then, position the camera in the pre - cleaned location and mark the holes for drilling (if required).
If you need to drill holes, be extra careful. Make sure you're drilling in the right place and at the right depth. Once the holes are drilled, insert the screws through the bracket and into the holes, and tighten them securely.
Wiring the Camera
Wiring is probably the most crucial part of the installation process. Start by routing the wiring harness from the camera to the rear of the vehicle's dashboard. You can use the existing cable channels in your vehicle to keep the wires organized and hidden.
The wiring harness usually has different colored wires, each with a specific function. The red wire is typically for power, the black wire is for ground, and the white wire is for the reverse signal. Use the wire strippers to strip a small section of the insulation from each wire.
Next, you need to connect these wires to the corresponding wires in your vehicle. The power wire (red) should be connected to a 12 - volt power source that only gets power when the vehicle is in reverse. The ground wire (black) should be connected to a good ground point in the vehicle. And the reverse signal wire (white) should be connected to the reverse light wire.
Once the connections are made, use electrical tape to wrap the exposed wires and prevent any short - circuits.
Connecting to the Display
If your Toyota Hilux Chrome Edition reverse camera comes with a display unit, you'll need to connect it to the camera. The display unit can usually be mounted on the dashboard or the rear - view mirror.
Connect the wiring harness from the camera to the display unit. Make sure the connection is secure. Then, turn on your vehicle's ignition and put it in reverse to test the camera. If everything is working correctly, you should see a clear image of what's behind your vehicle on the display.
Testing and Final Checks
After the initial test, take your vehicle for a short drive and reverse a few times to make sure the camera is working properly. Check for any loose connections, vibrations, or image issues. If you notice anything wrong, double - check your wiring connections and the camera's mounting.
Other Related Products
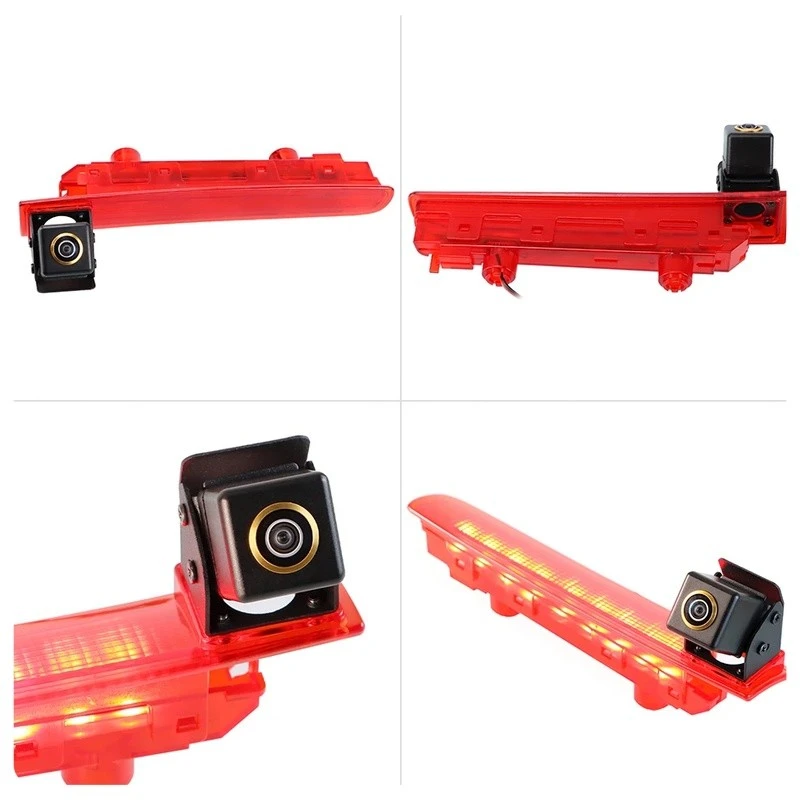
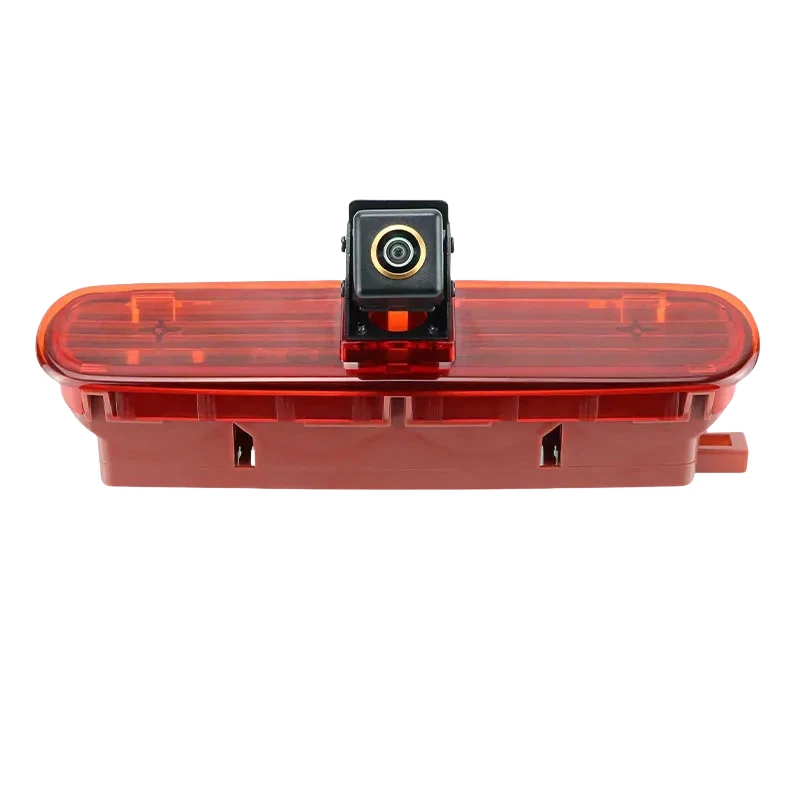
If you're interested in other types of reverse cameras, we also offer some great options like the Volkswagen T5/T6 High - Mount Brake Light Camera, the Iveco Daily 2015 - 2017 High - Mount Stop Lamp Integrated Backup Camera, and the Multi - Brand High - Mount Brake Light Camera for Fiat/Opel. These cameras are designed to fit specific vehicle models and offer high - quality performance.
Why Choose Our Cameras
Our Toyota Hilux Chrome Edition reverse cameras are built to last. They're made from high - quality materials that can withstand harsh weather conditions and rough handling. The cameras also have a wide - angle lens, which gives you a broader view of what's behind your vehicle. And with easy - to - follow installation instructions, you can have it up and running in no time.
Contact Us for Purchasing
If you're interested in purchasing our Toyota Hilux Chrome Edition reverse camera or any of our other products, don't hesitate to get in touch. We're always ready to answer your questions and help you with your purchase. Whether you're a small business owner looking to stock up on reverse cameras or an individual looking to upgrade your vehicle, we've got you covered.
References
- Toyota Hilux Chrome Edition Reverse Camera User Manual
- General Automotive Wiring and Installation Guides


