


Hey there! As a supplier of brake light series reversing cameras, I know how crucial it is to ensure these products work flawlessly. After all, they're not just fancy add - ons; they play a vital role in vehicle safety. In this blog, I'll walk you through how to test the functionality of these cameras.
Pre - test Preparations
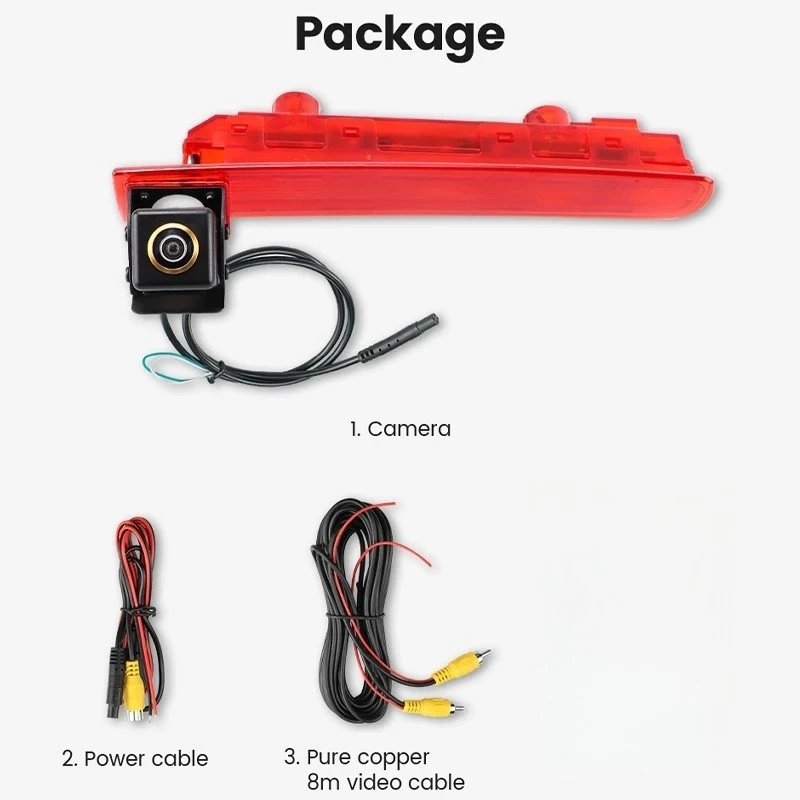
Before you start testing, you need to gather a few tools. You'll need a power source that can mimic the vehicle's electrical system. A multimeter is essential for checking electrical currents and voltages. Also, prepare a clean, well - lit area where you can mount the camera and view the display clearly.
First, make sure the camera is properly mounted. Incorrect mounting can lead to inaccurate testing results. The brake light series reversing cameras are usually designed to fit specific vehicle models. For example, the Volkswagen T5/T6 High - Mount Brake Light Camera is tailored for Volkswagen T5 and T6 models. So, follow the installation instructions carefully to ensure it's in the right position.
Testing the Power Supply
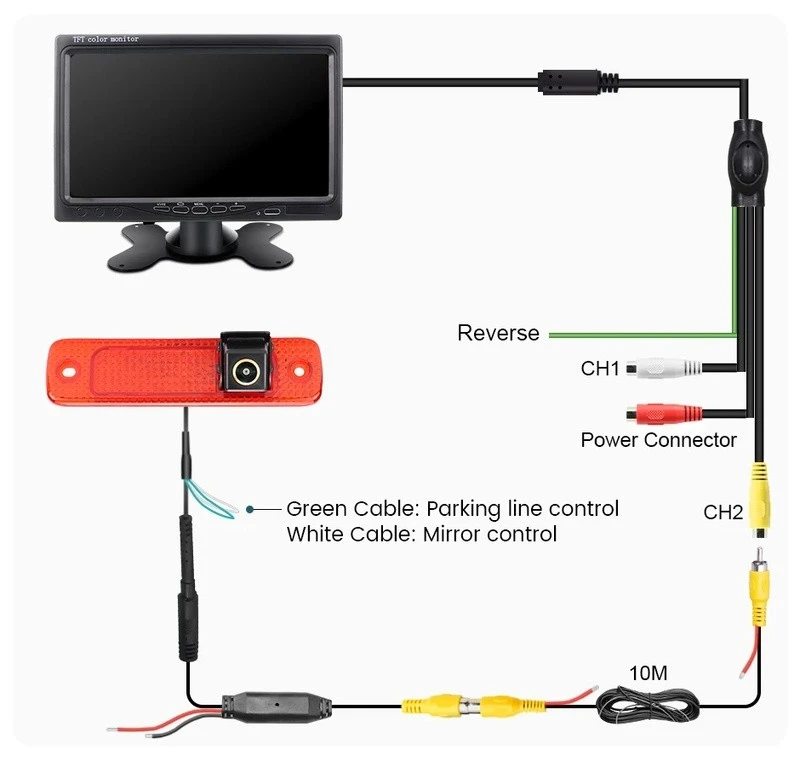
The first step in testing is to check the power supply. Connect the camera to the power source. Use the multimeter to measure the voltage at the camera's power input. The voltage should match the specifications provided by the manufacturer. If the voltage is too low, the camera may not function properly, or it might produce a poor - quality image.
For instance, if the camera is supposed to operate at 12 volts, and you measure only 9 volts, there could be an issue with the power connection or the power source itself. Check the wiring for any loose connections, frayed wires, or short circuits. If you find any problems, fix them before proceeding with the rest of the tests.
Video Quality Testing
Once the camera is powered on, it's time to check the video quality. Connect the camera to a compatible display device, such as a monitor or a dashboard screen. Make sure the display is set to the correct input source.
Look at the image on the display. It should be clear, without any blurry or distorted areas. Check for color accuracy as well. The colors should be true to life. If the image is too dark or too bright, you can adjust the camera's settings if it has adjustable features like brightness, contrast, or gain.
For some high - end models like the Volkswagen High - Mount Stop Lamp Integrated Backup Camera for MQB/MEB Platforms (2020 - 2024), they may have advanced image - processing algorithms. These algorithms can enhance the video quality in different lighting conditions. Test the camera in various lighting scenarios, such as bright sunlight, dim indoor lighting, and at night. See how well it adapts to these changes.
Angle and Viewing Range Testing
The angle and viewing range of the camera are crucial for its functionality. The camera should cover a wide enough area behind the vehicle to provide a comprehensive view.
To test the viewing range, mark specific points in the area behind the camera. Walk around these points and observe if they are visible on the display. If there are blind spots, you may need to adjust the camera's angle. Most brake light series reversing cameras allow for some degree of angle adjustment.
For example, the Ford Transit 2006 - 2013 High - Mount Stop Lamp Integrated Backup Camera is designed to provide a good view for Ford Transit vehicles from 2006 - 2013. But if it's not installed at the right angle, it may not cover the necessary areas.
Brake Light Integration Testing
Since these cameras are integrated with brake lights, it's important to test this integration. When the brake is applied, the camera should still function properly, and the brake light should illuminate as normal.
Use a switch to simulate the brake being applied. Check if the brake light turns on. At the same time, make sure the camera's video feed on the display doesn't get interrupted or distorted. If there are any issues, it could be due to a problem with the wiring between the camera, the brake light, and the vehicle's electrical system.
Waterproof and Durability Testing
Brake light series reversing cameras are exposed to various environmental conditions, so they need to be waterproof and durable. You can perform a simple waterproof test by spraying the camera with water. Make sure the water doesn't penetrate the camera housing.
For durability testing, you can subject the camera to some gentle vibrations or shocks. This simulates the normal wear and tear the camera will experience during vehicle operation. Check if the camera still functions properly after these tests. If there are any signs of damage or malfunction, the camera may not be suitable for use.
Conclusion
Testing the functionality of brake light series reversing cameras is a multi - step process that requires attention to detail. By following these steps, you can ensure that the cameras you supply or use are of high quality and will perform well in real - world situations.
If you're in the market for top - notch brake light series reversing cameras or want to discuss your specific requirements, feel free to reach out. We're here to help you find the perfect solution for your vehicles.
References
- General knowledge of automotive electronics and camera technology
- Manufacturer's manuals for brake light series reversing cameras


